
How to Deploy your Phoenix LiveView 1.6 app on Digital Ocean with Docker
One of my clients had a requirement that the LiveView app that I was building for them be hosted on Digital Ocean. I had never hosted an entire app on Digital Ocean, although I had experience with Spaces an S3 alternative from Digital Ocean. Turns out, with the new App Platform it is easy to wire up the github repo and deploy the app as a docker container.
This post outlines the steps required to host your existing Phoenix LiveView apps on the Digital Ocean App platform.
Setting up and Configuring Phoenix
Assuming you have a Phoenix 1.6 let's dockerize it and host it on the
Digital Ocean App Platform. Phoenix 1.6 ships with a phx.gen.release mix task to
generate the files to dockerize the app, run migrations and start the
server.
0️⃣ Phoenix LiveView or Vanilla App
You should have an existing Phoenix 1.6 app. This guide works for both Vanilla and Liveview based app.
1️⃣ Dockerize the application
In the root directory of the project run
mix phx.gen.release --docker which generates the required
files to dockerize the app.
* creating rel/overlays/bin/server
* creating rel/overlays/bin/server.bat
* creating rel/overlays/bin/migrate
* creating rel/overlays/bin/migrate.bat
* creating lib/digital_ocean_deploy/release.ex
* creating Dockerfile
* creating .dockerignore
server: Starts the server in production-
migrate: Runs the database migrations in production -
release.ex: Once the application is compiled and built we won't have access to mix tasks on the server. This file includes code to performs migrations and rollbacks on the database without invoking mix. This function is called in themigratefile. -
Dockerfile: Dockerfile to build and deploy the app as a container. -
.dockerignore: Standard files to be ignored by docker.
2️⃣ Configure SSL connection to Database
DigitalOcean only allows encrypted SSL connection between the application and the database. Ecto supports SSL based connection , but it is disabled out of the box.
Open up runtime.exs. This file contains the runtime
configuration of the language. Configuration here is not compiled into
the release.
maybe_ipv6 = if System.get_env("ECTO_IPV6"), do: [:inet6], else: []

config :digital_ocean_deploy, DigitalOceanDeploy.Repo,
  ssl: true,
  url: database_url,
  pool_size: String.to_integer(System.get_env("POOL_SIZE") || "10"),
  socket_options: maybe_ipv6,
  ssl_opts: [verify: :verify_none]
Uncomment ssl: true, and add ssl_opts: [verify: :verify_none] If you have
socket_options: [:inet6] instead of the
maybe_ipv6 shown here, you have to replace it with
socket_options: [ ]. Doing so makes Ecto connect to the
database through SSL.
Since connections to the database happen over SSL, we have to make sure
SSL is started in the migrate function. In the
release.ex file.
  defp load_app do
    Application.ensure_all_started(:ssl)
    Application.load(@app)
  end
3️⃣ Run Migrations before Server start
In the current setup, we have to manually run the migration script after pushing any updates to the server. This is tedious, error prone and unneccessary. We will update the script to run the migration before every server start.
Replace the last line of Dockerfile.
USER nobody

CMD ["/app/bin/start"]
Create a start script in
rel/overlays/bin/start to run the migration first and then
start the server.
#!/bin/sh
cd -P -- "$(dirname -- "$0")"
./migrate && ./server
Now make it executable with
chmod +x rel/overlays/bin/start
Setup Digital Ocean App
Now it's time to setup the server on Digital Ocean App platform. Unlike bare metal servers, Apps are managed by Digital Ocean akin to Heroku. We are going to create a new app that connects to our Github repo, builds our app and releases a new version on every update.
4️⃣ Create a Github or Gitlab repo and upload your code
Upload your code to Github or Gitab. We are going to connect this repo to Digital Ocean.
5️⃣ Create a new Digital Ocean App and deploy
Create a new app and link it to the repo we created in the last step.
-
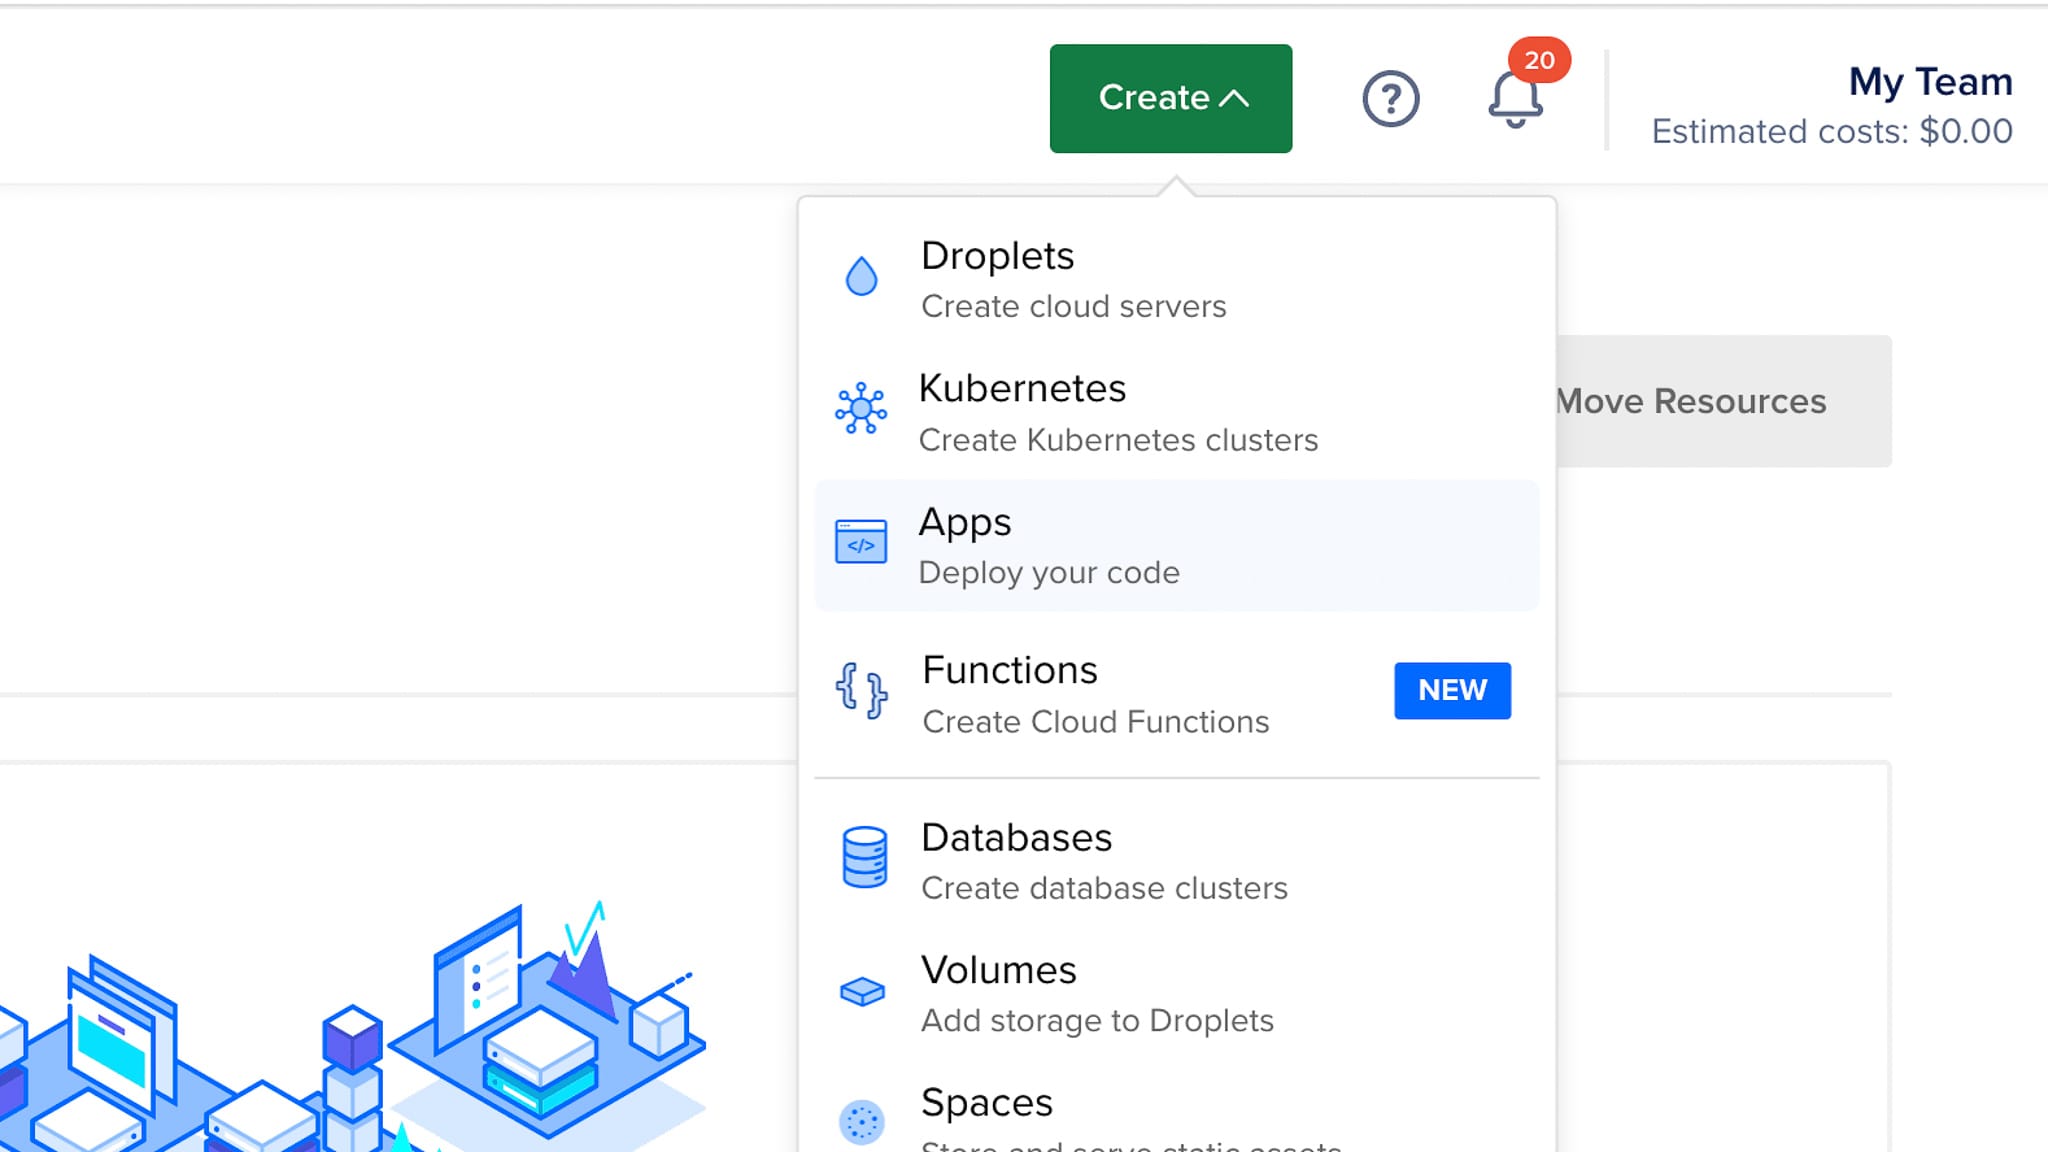
Go to Digital Ocean and click Apps button from the Create dropdown.
-
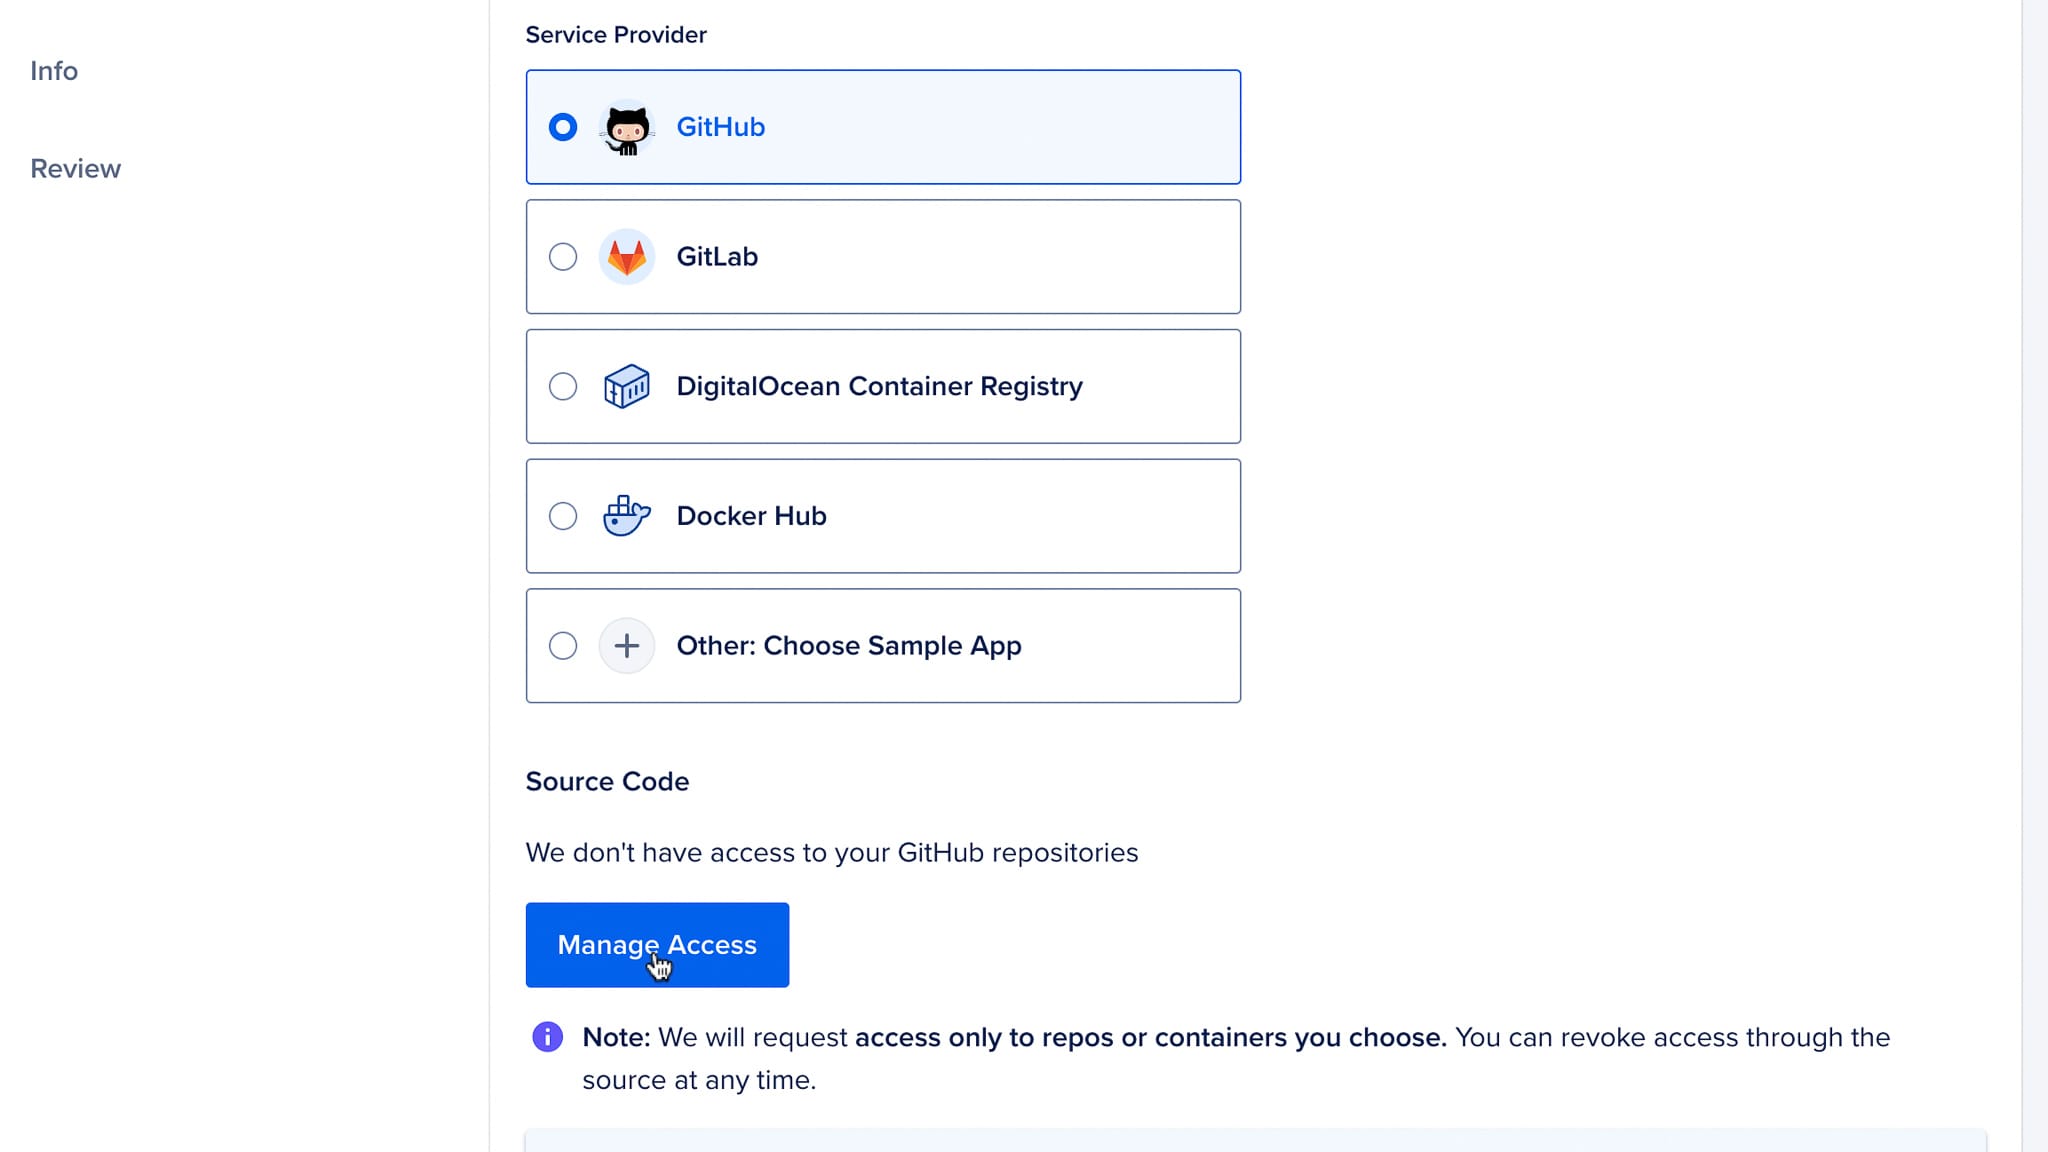
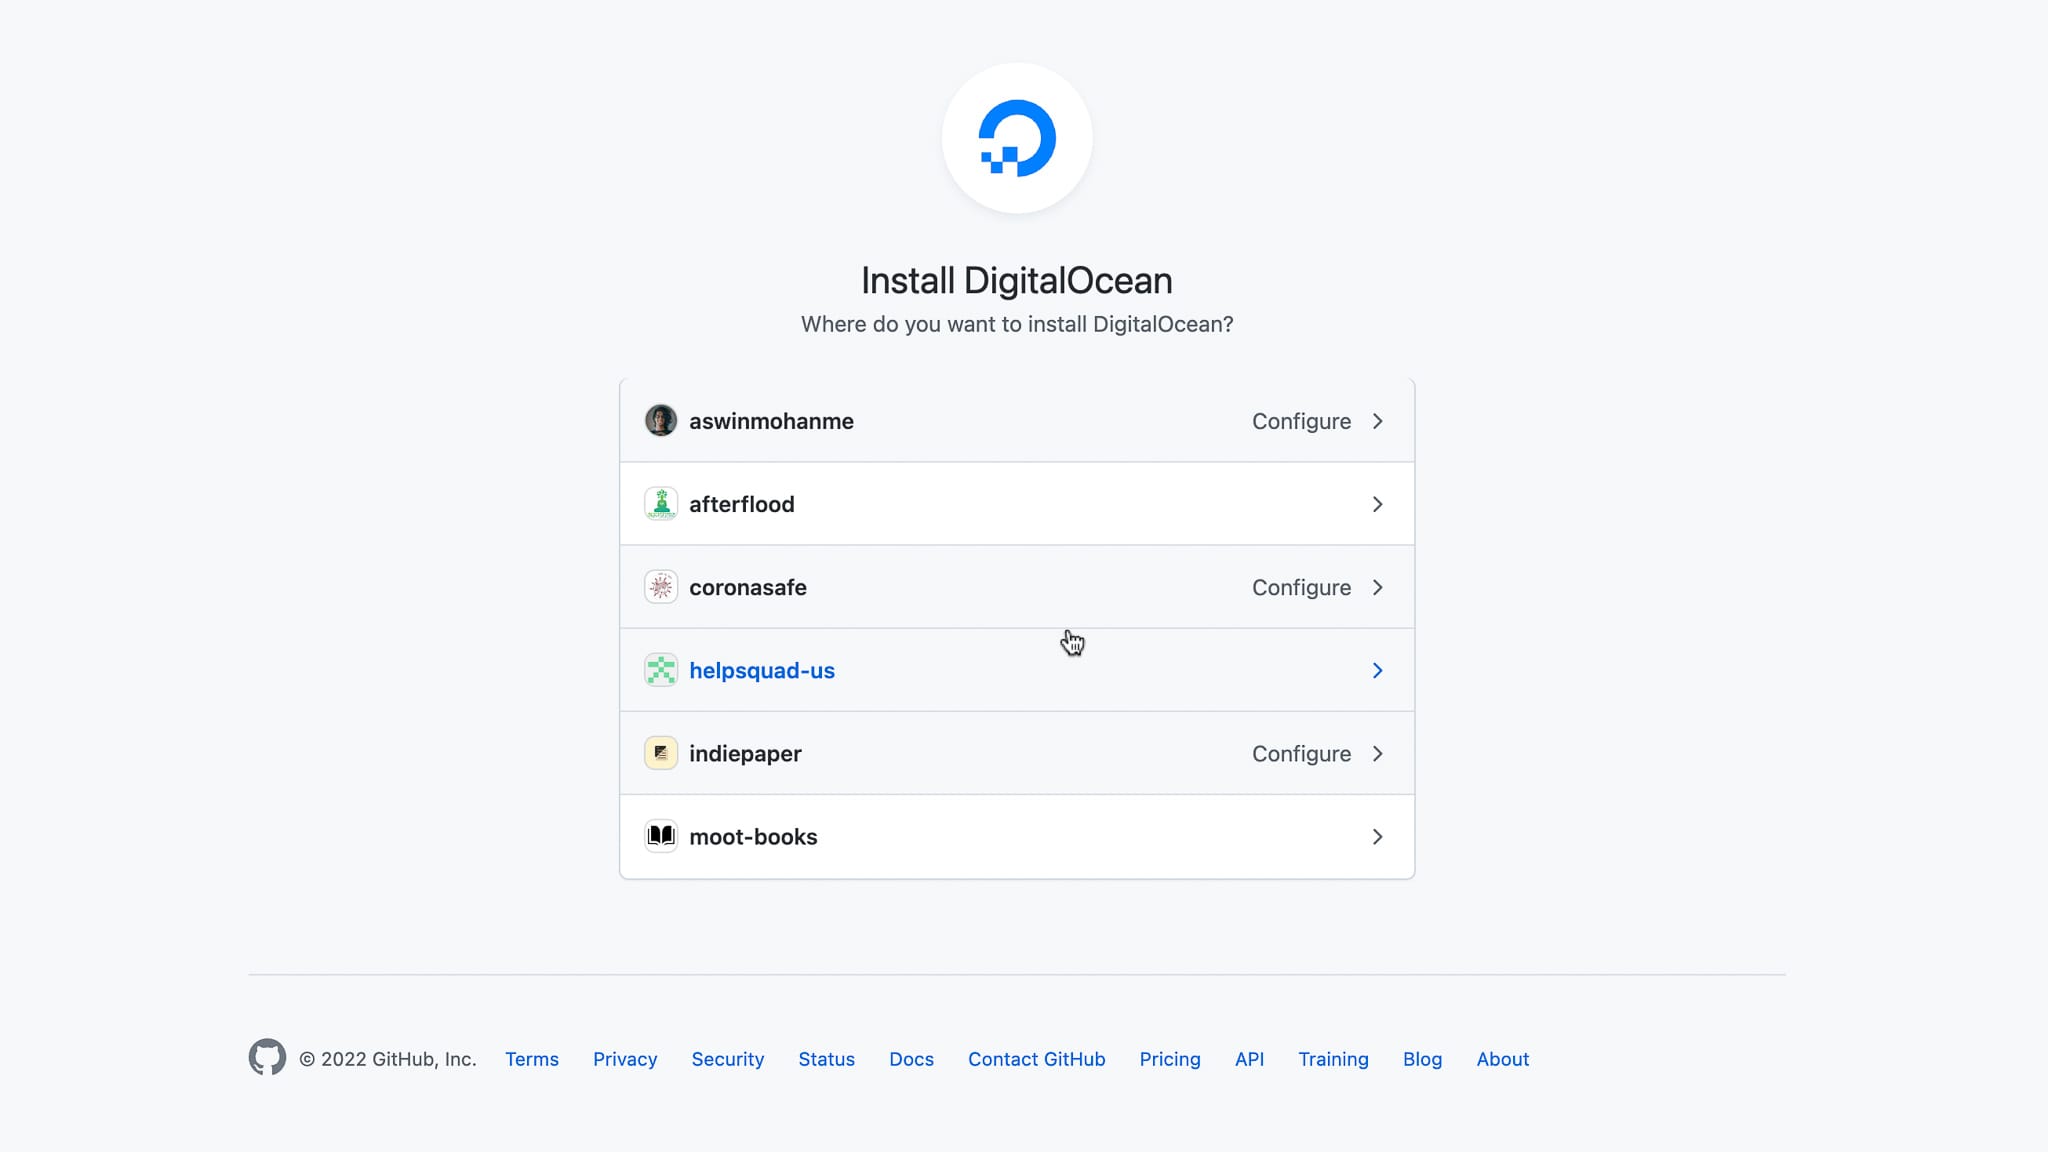
Connect Github or Gitlab where you have hosted the repo.Give Digital Ocean read access to the repo.
-
Set the branch which you want to build from. When building production apps, I create two apps. One to deploy from the
developbranch for the staging environment, andmasterfor production. Make sureAutodeployis checked, so when you push to the repo the app gets rebuilt automatically.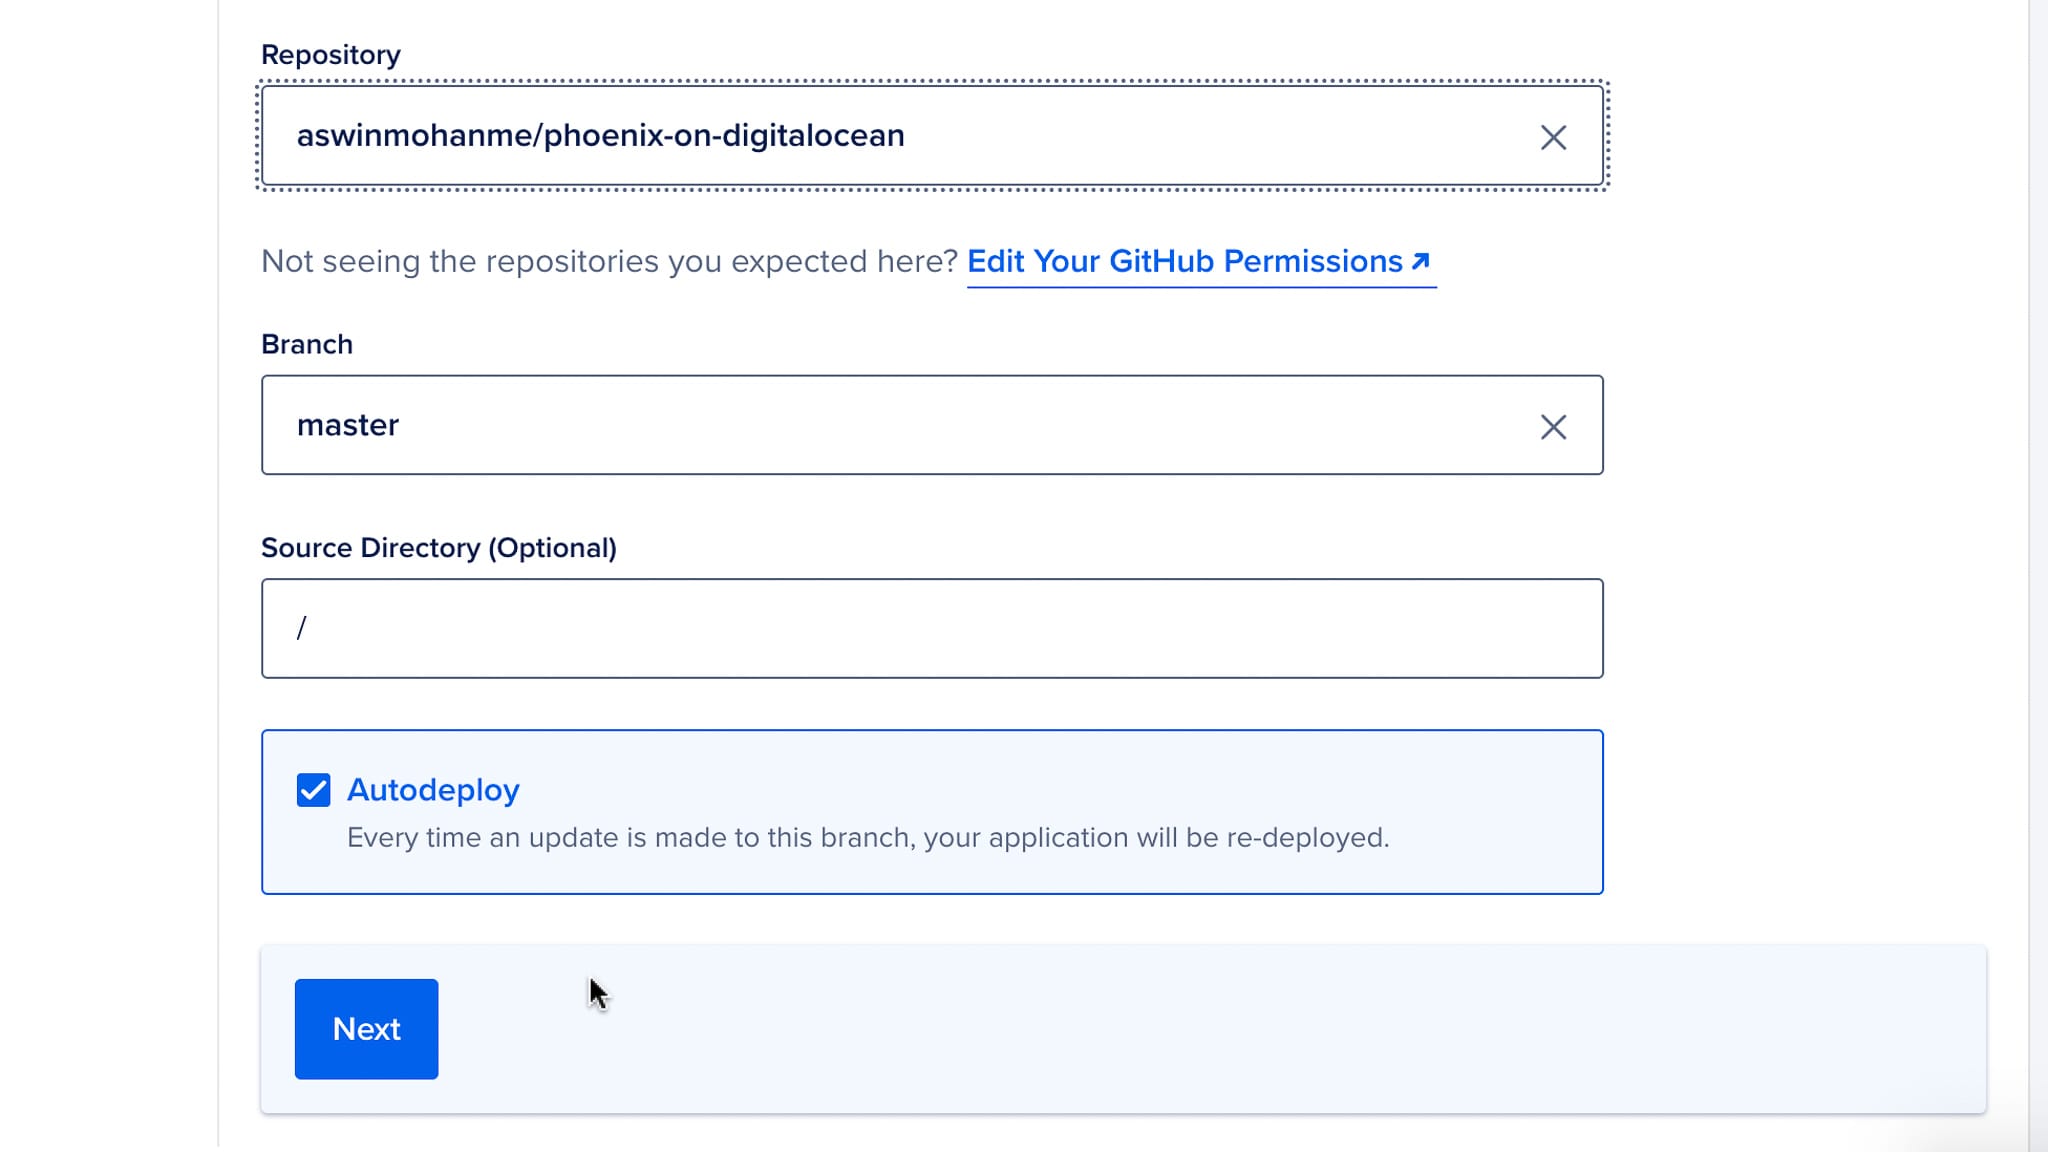
-
You can click the
Edit Planbutton to change the pricing of the instance. If you're building a test system, you can provision a smaller instance for $5.00. Click theAdd Resourcebutton to create a database.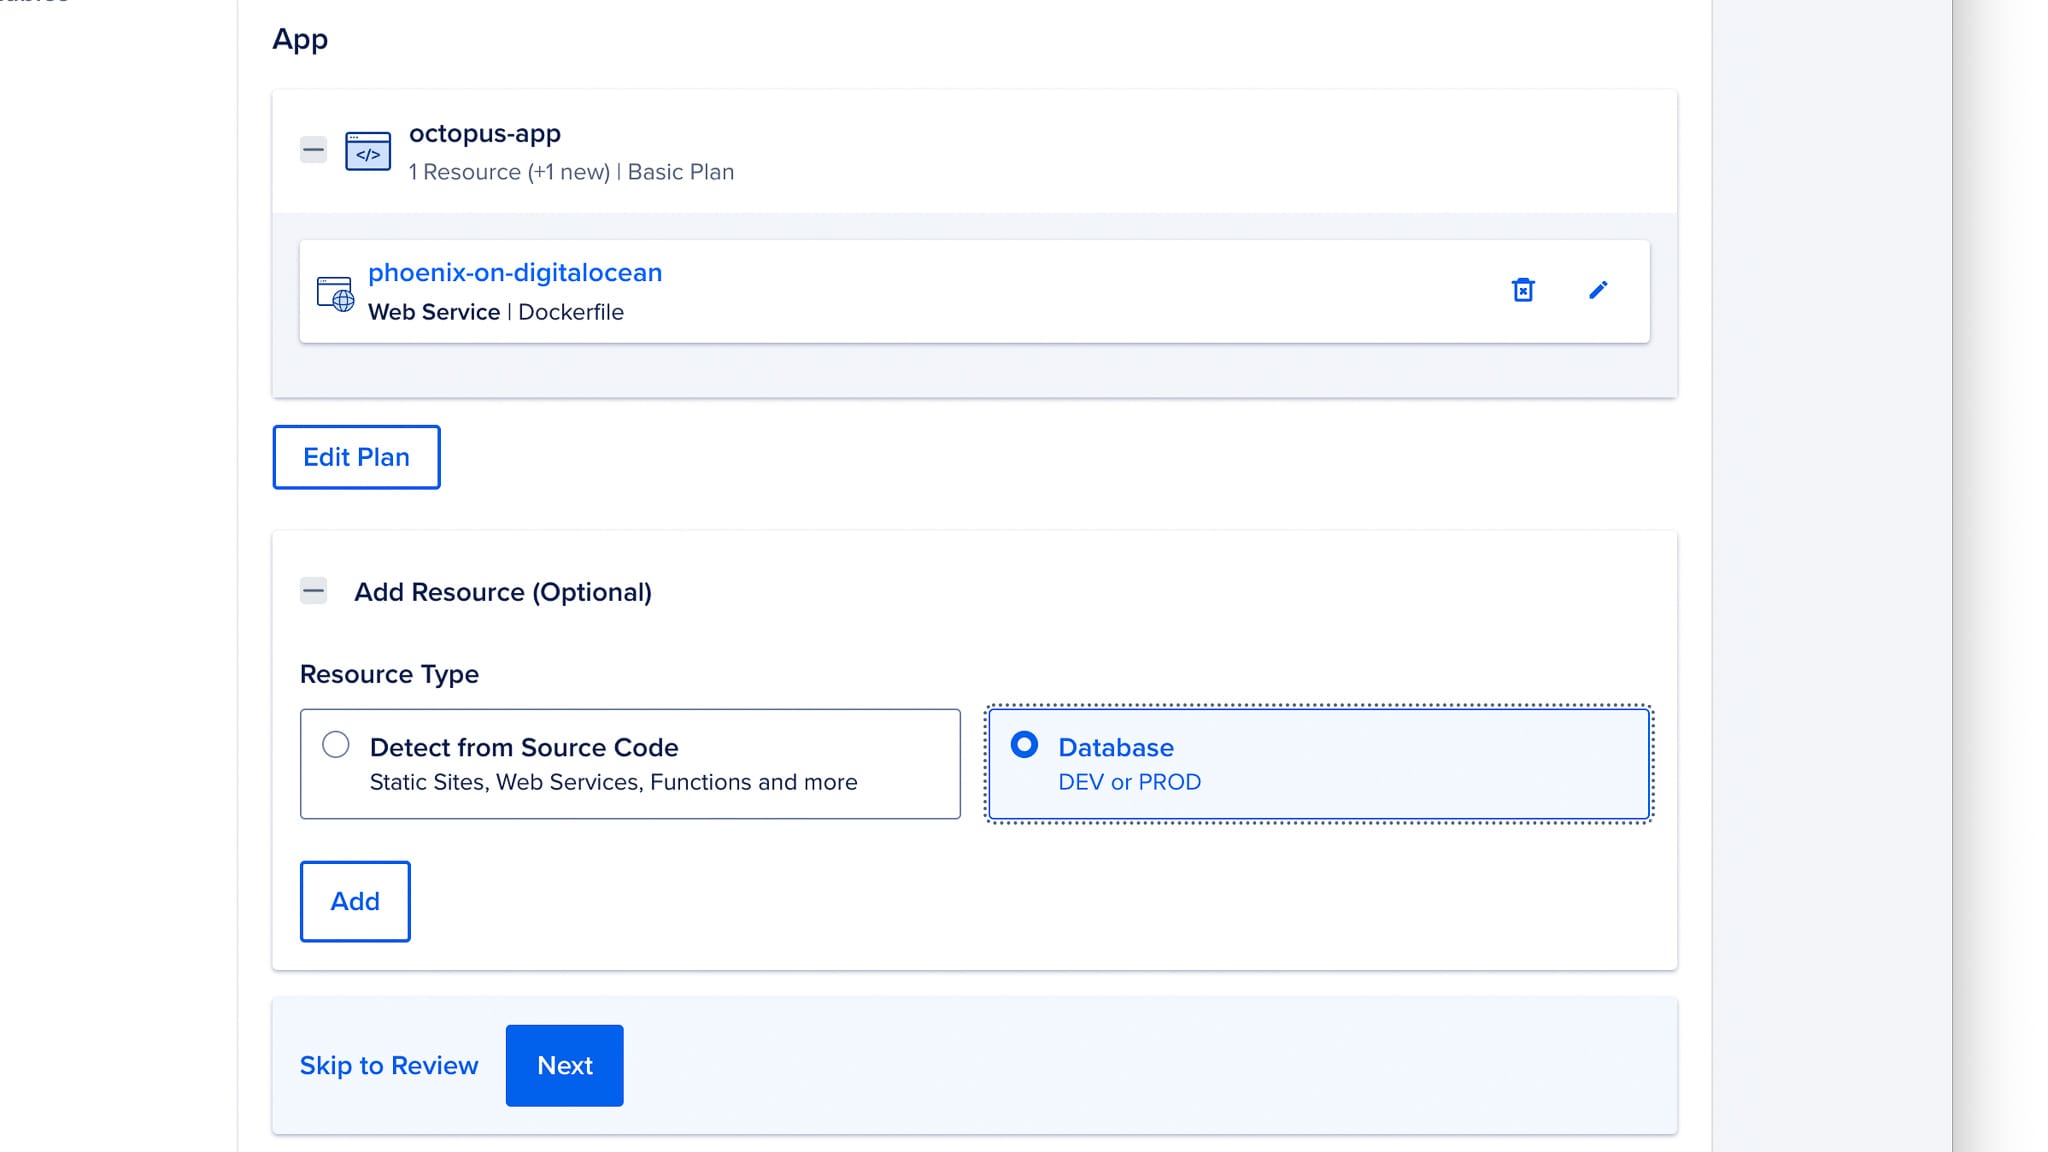
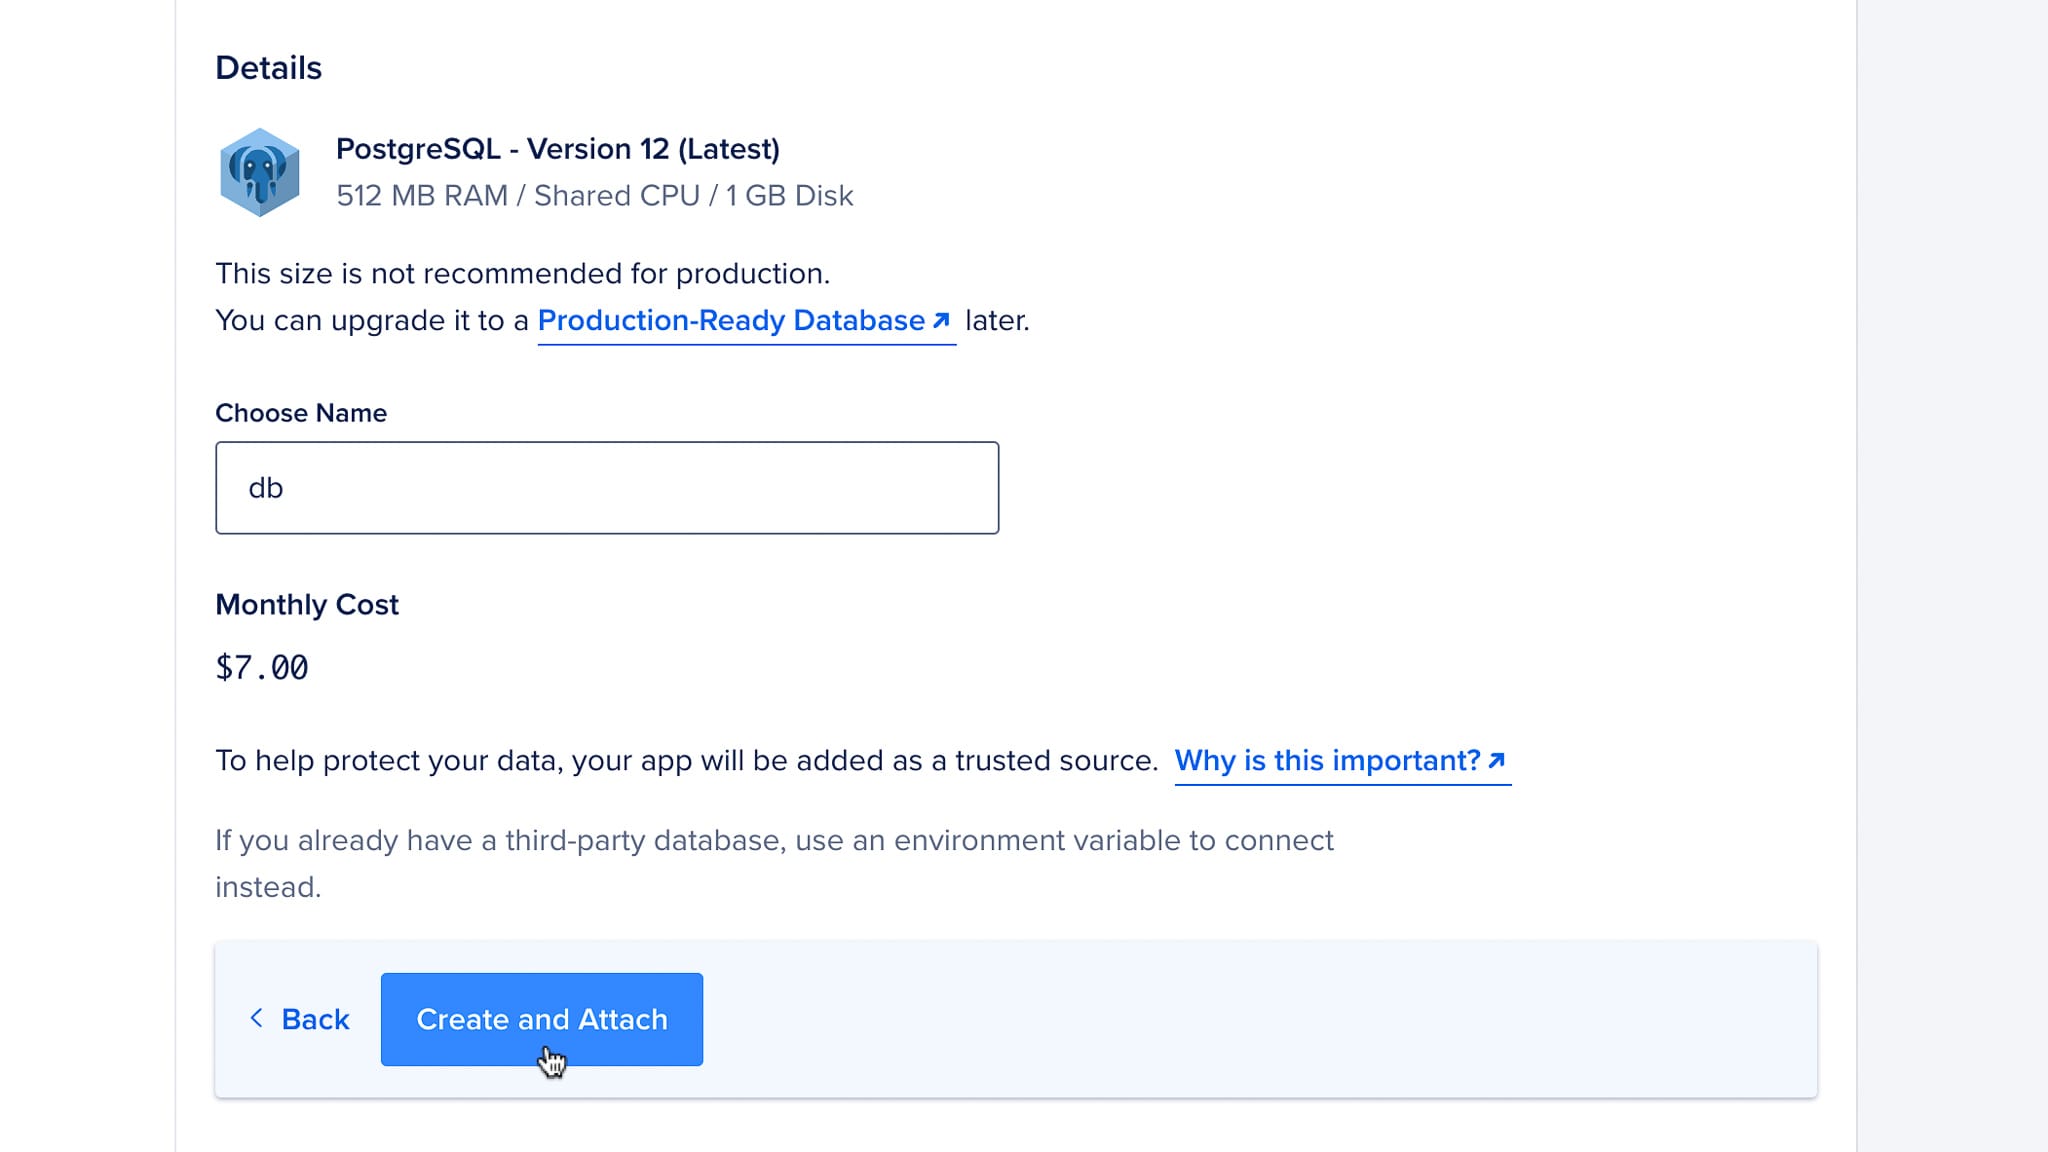
-
Remember the name that you give your database, we'll need that later. Create and Attach that database to our app.
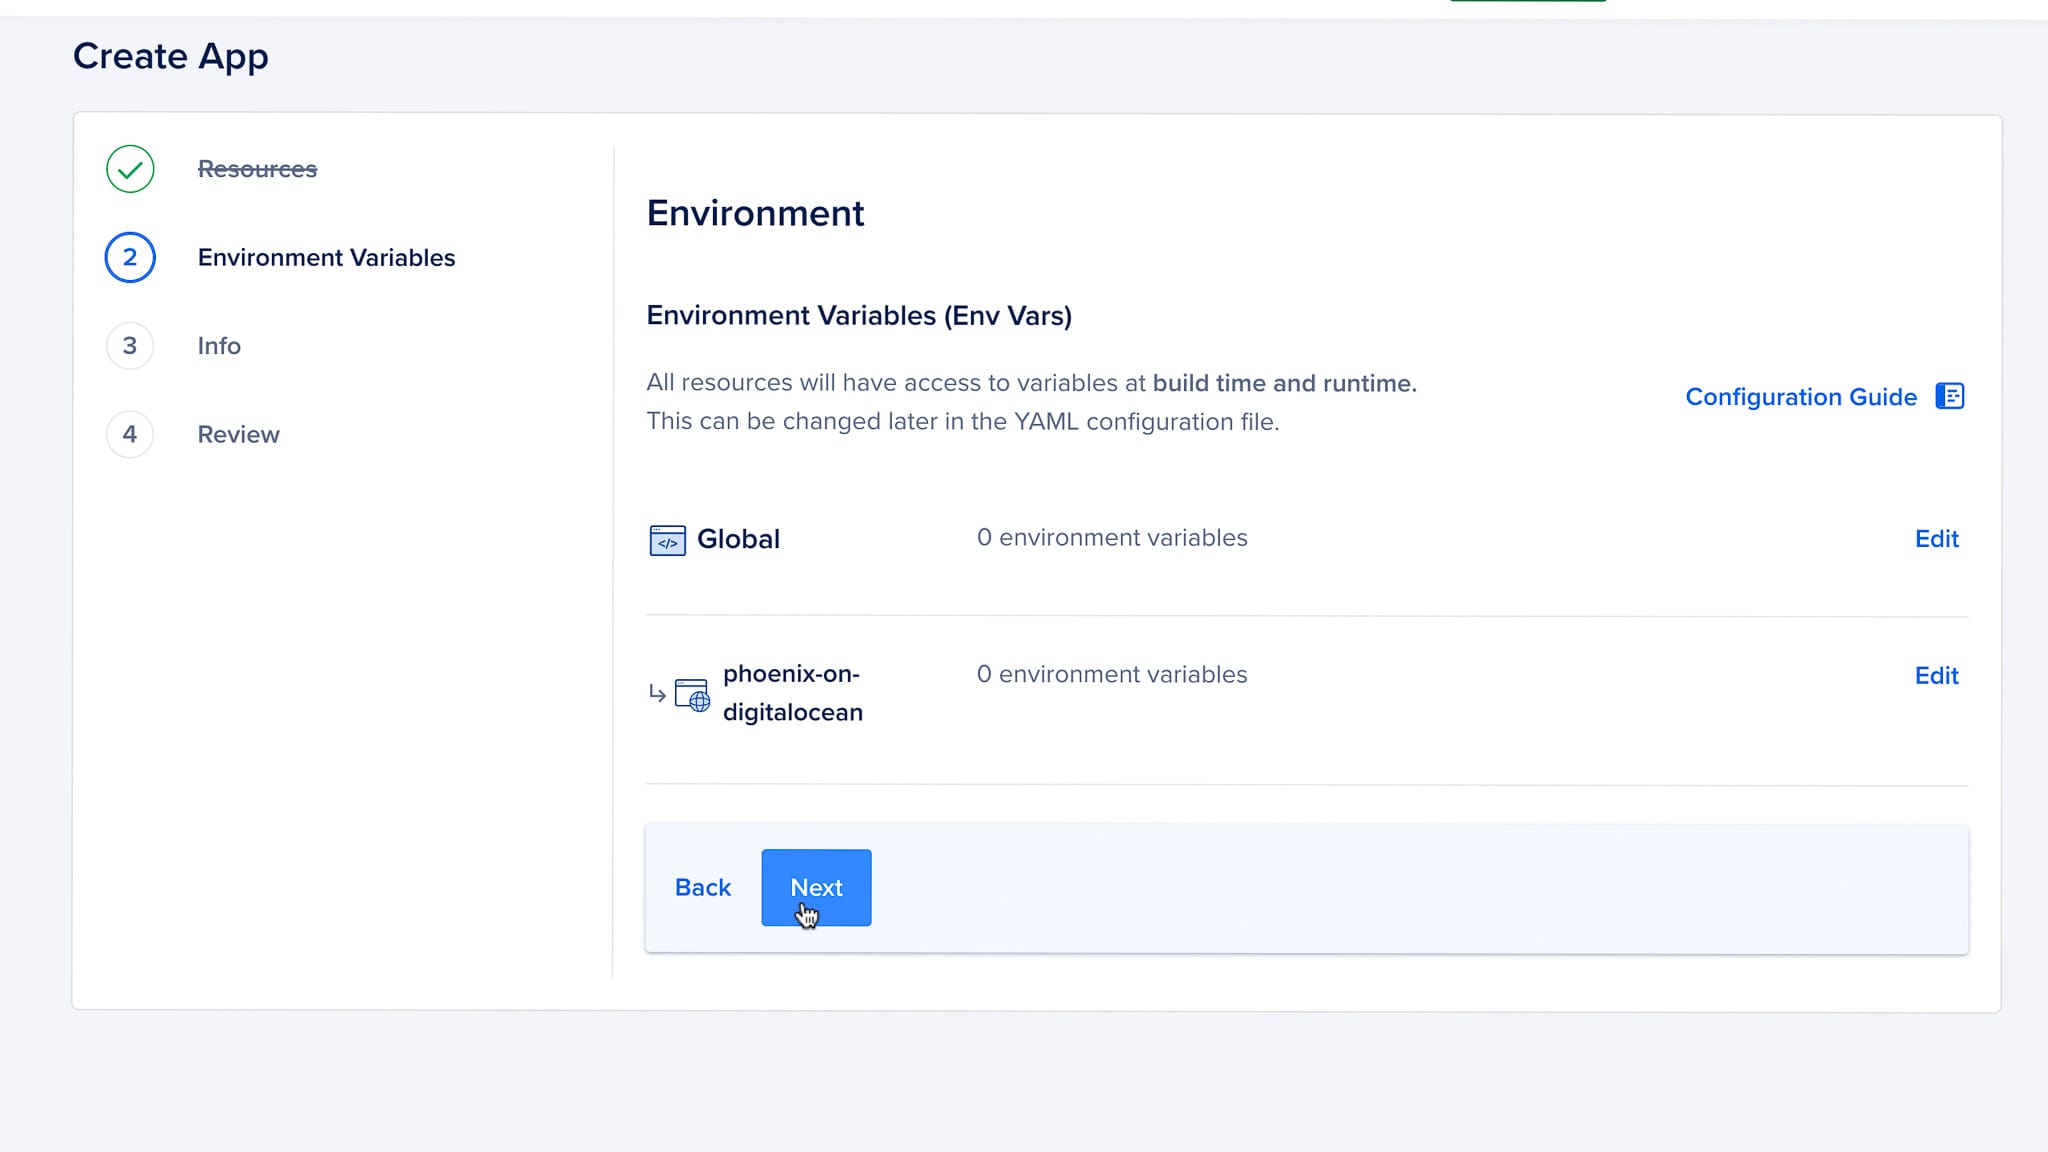
-
We can skip configuring the Environment for now. This will cause our first deployment to fail, but we'll fix it later. Click Next.
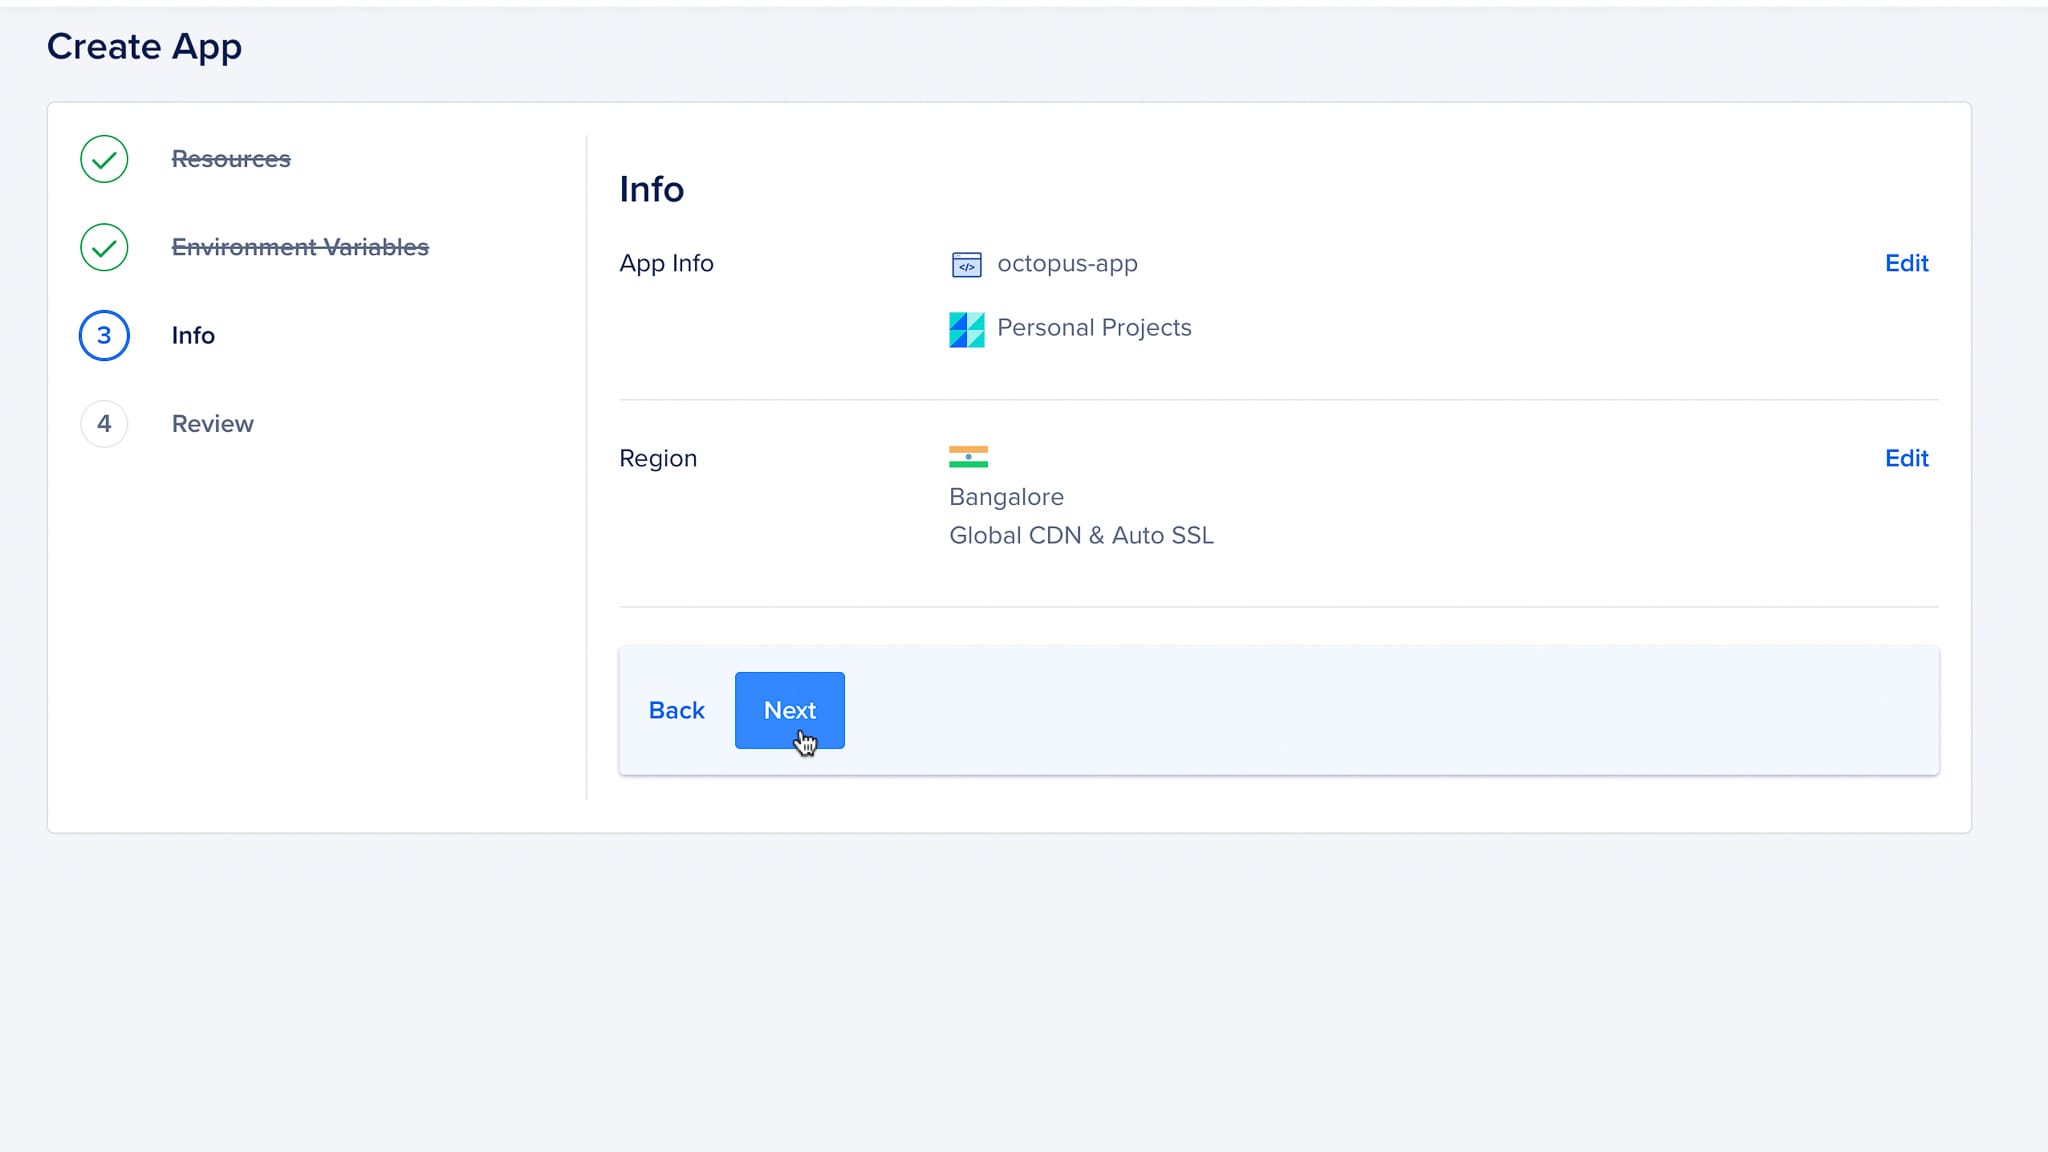
-
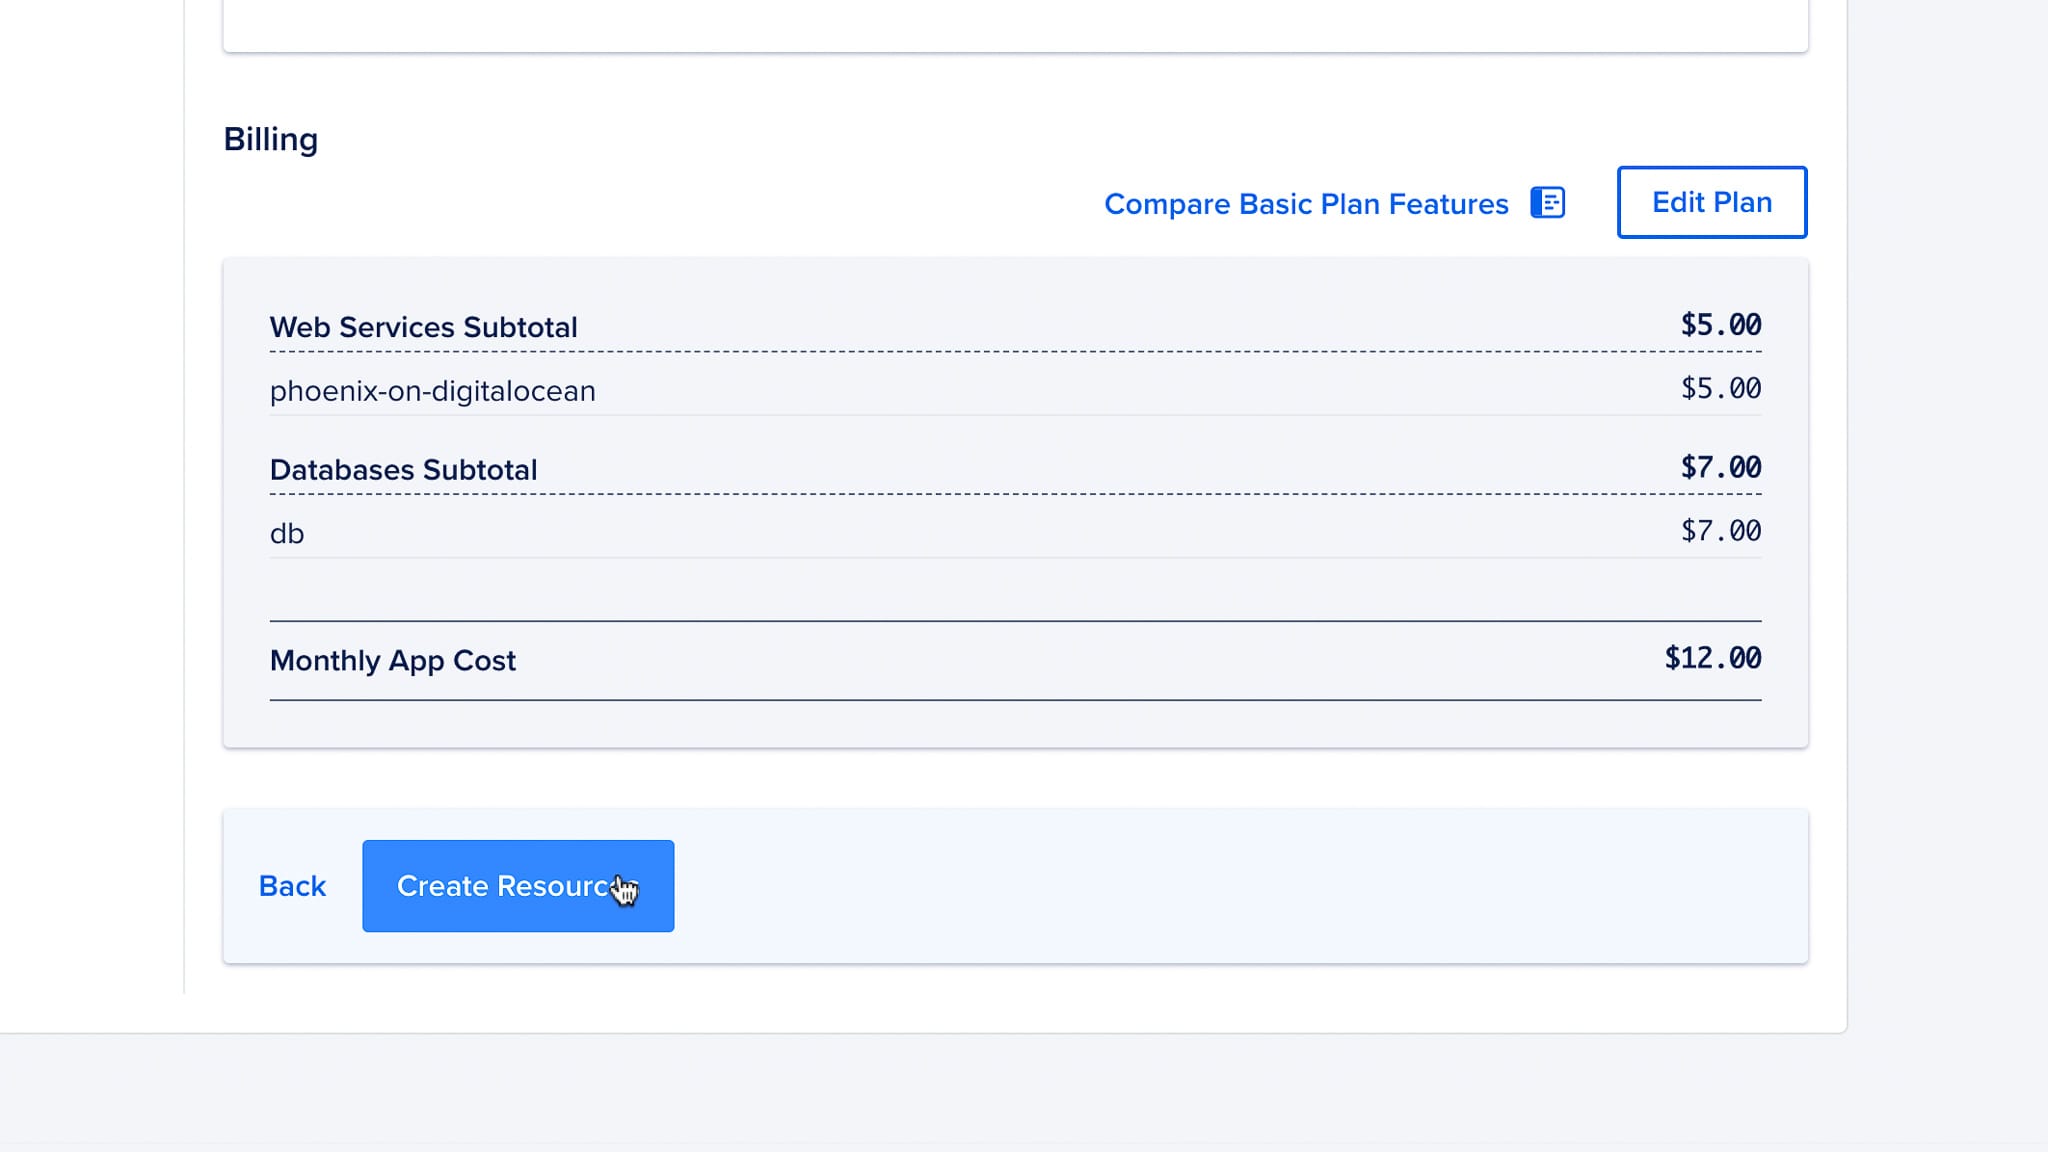
You can change the region and the name of app here. Changing the name changes the free subdomain Digital Ocean gives you. It's best to host the app in the region closest to your users for best performance.
-
Once you have confirmed the cost of the app, click Create Resource. Digital Ocean will then clone your repo and start building.
6️⃣ Setup Environment
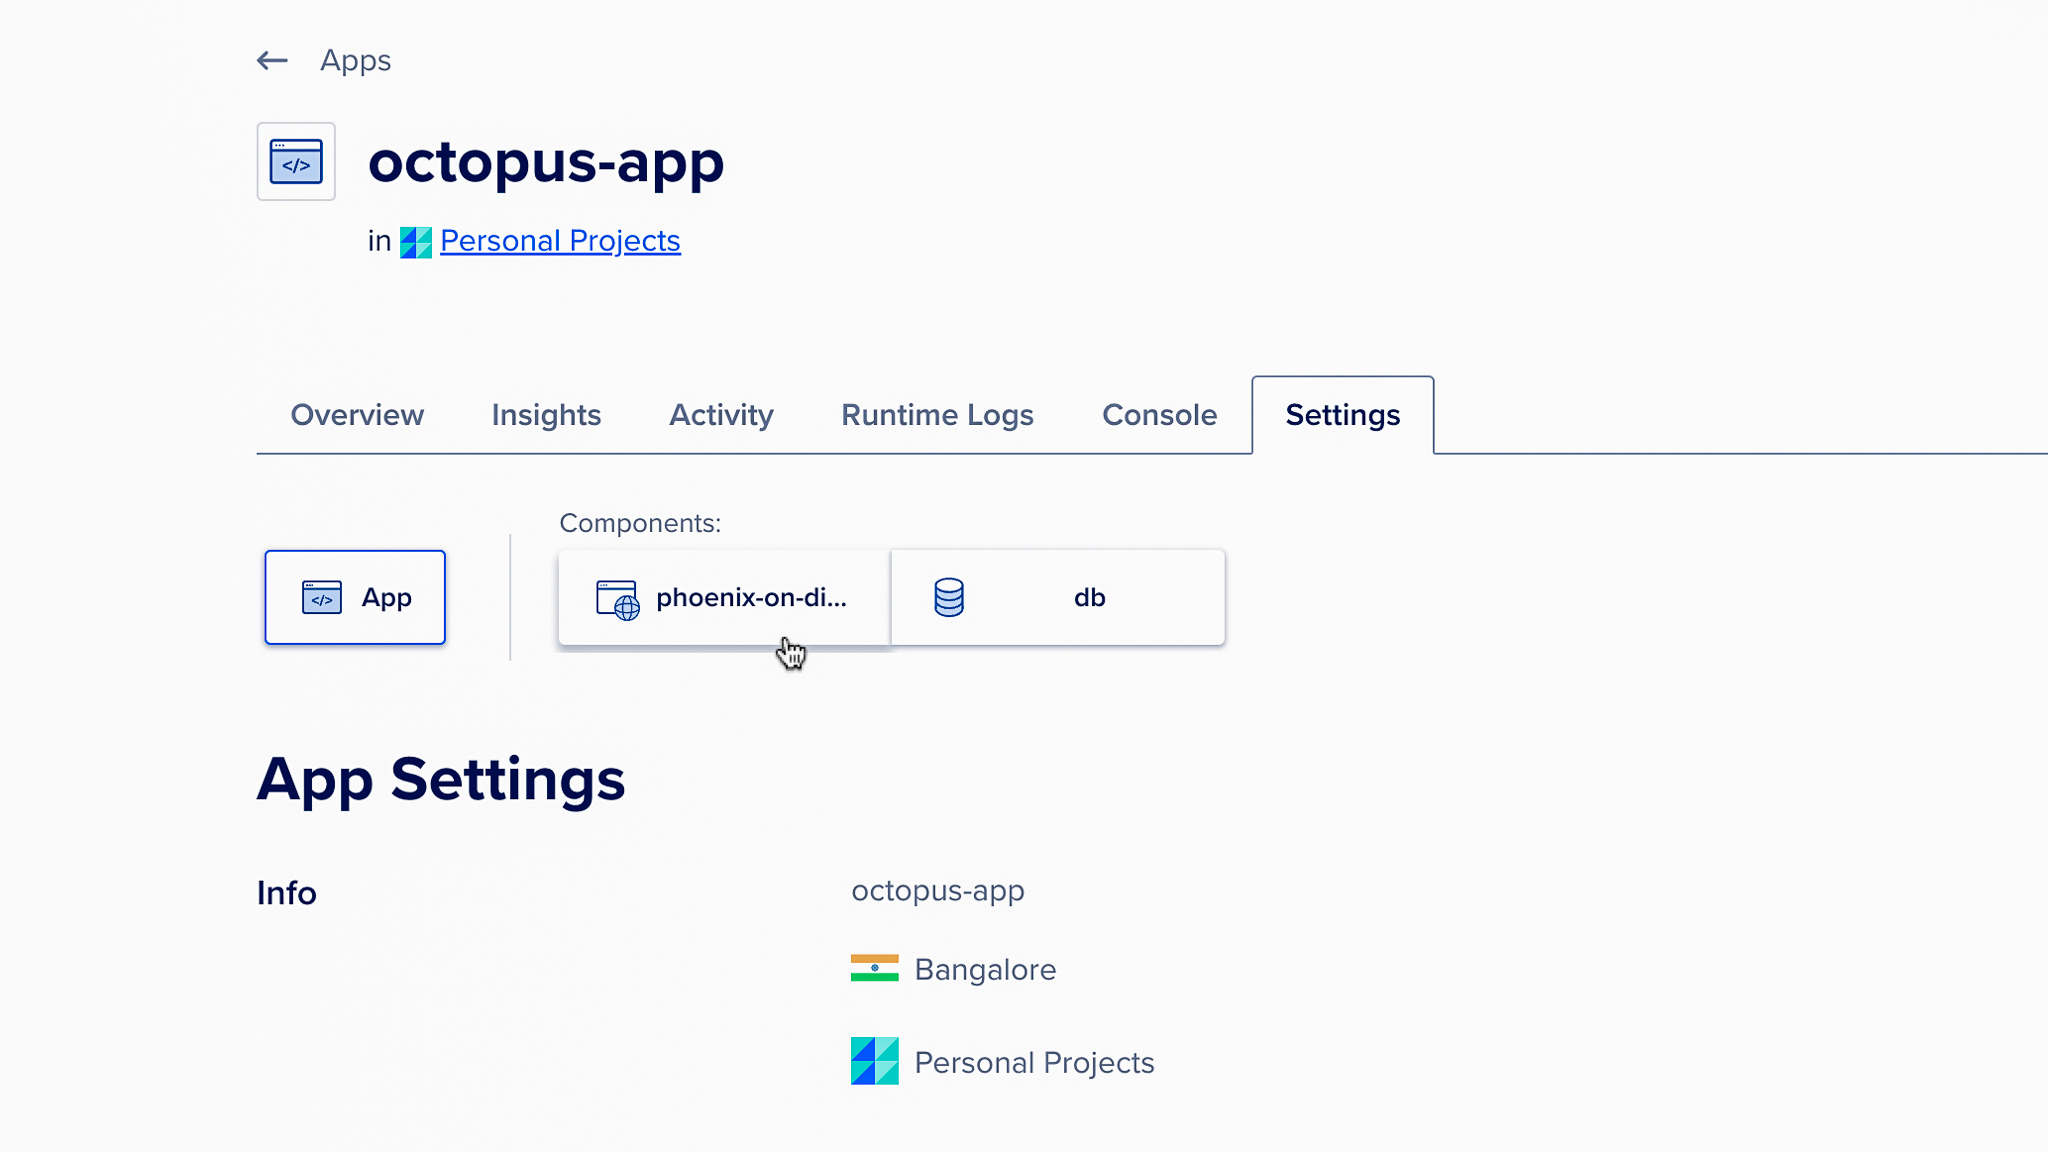
The first deployment of our app will fail since we haven't setup the Environment variables.
Go to the settings page and click on the server component. Also note the name of the database we have setup.
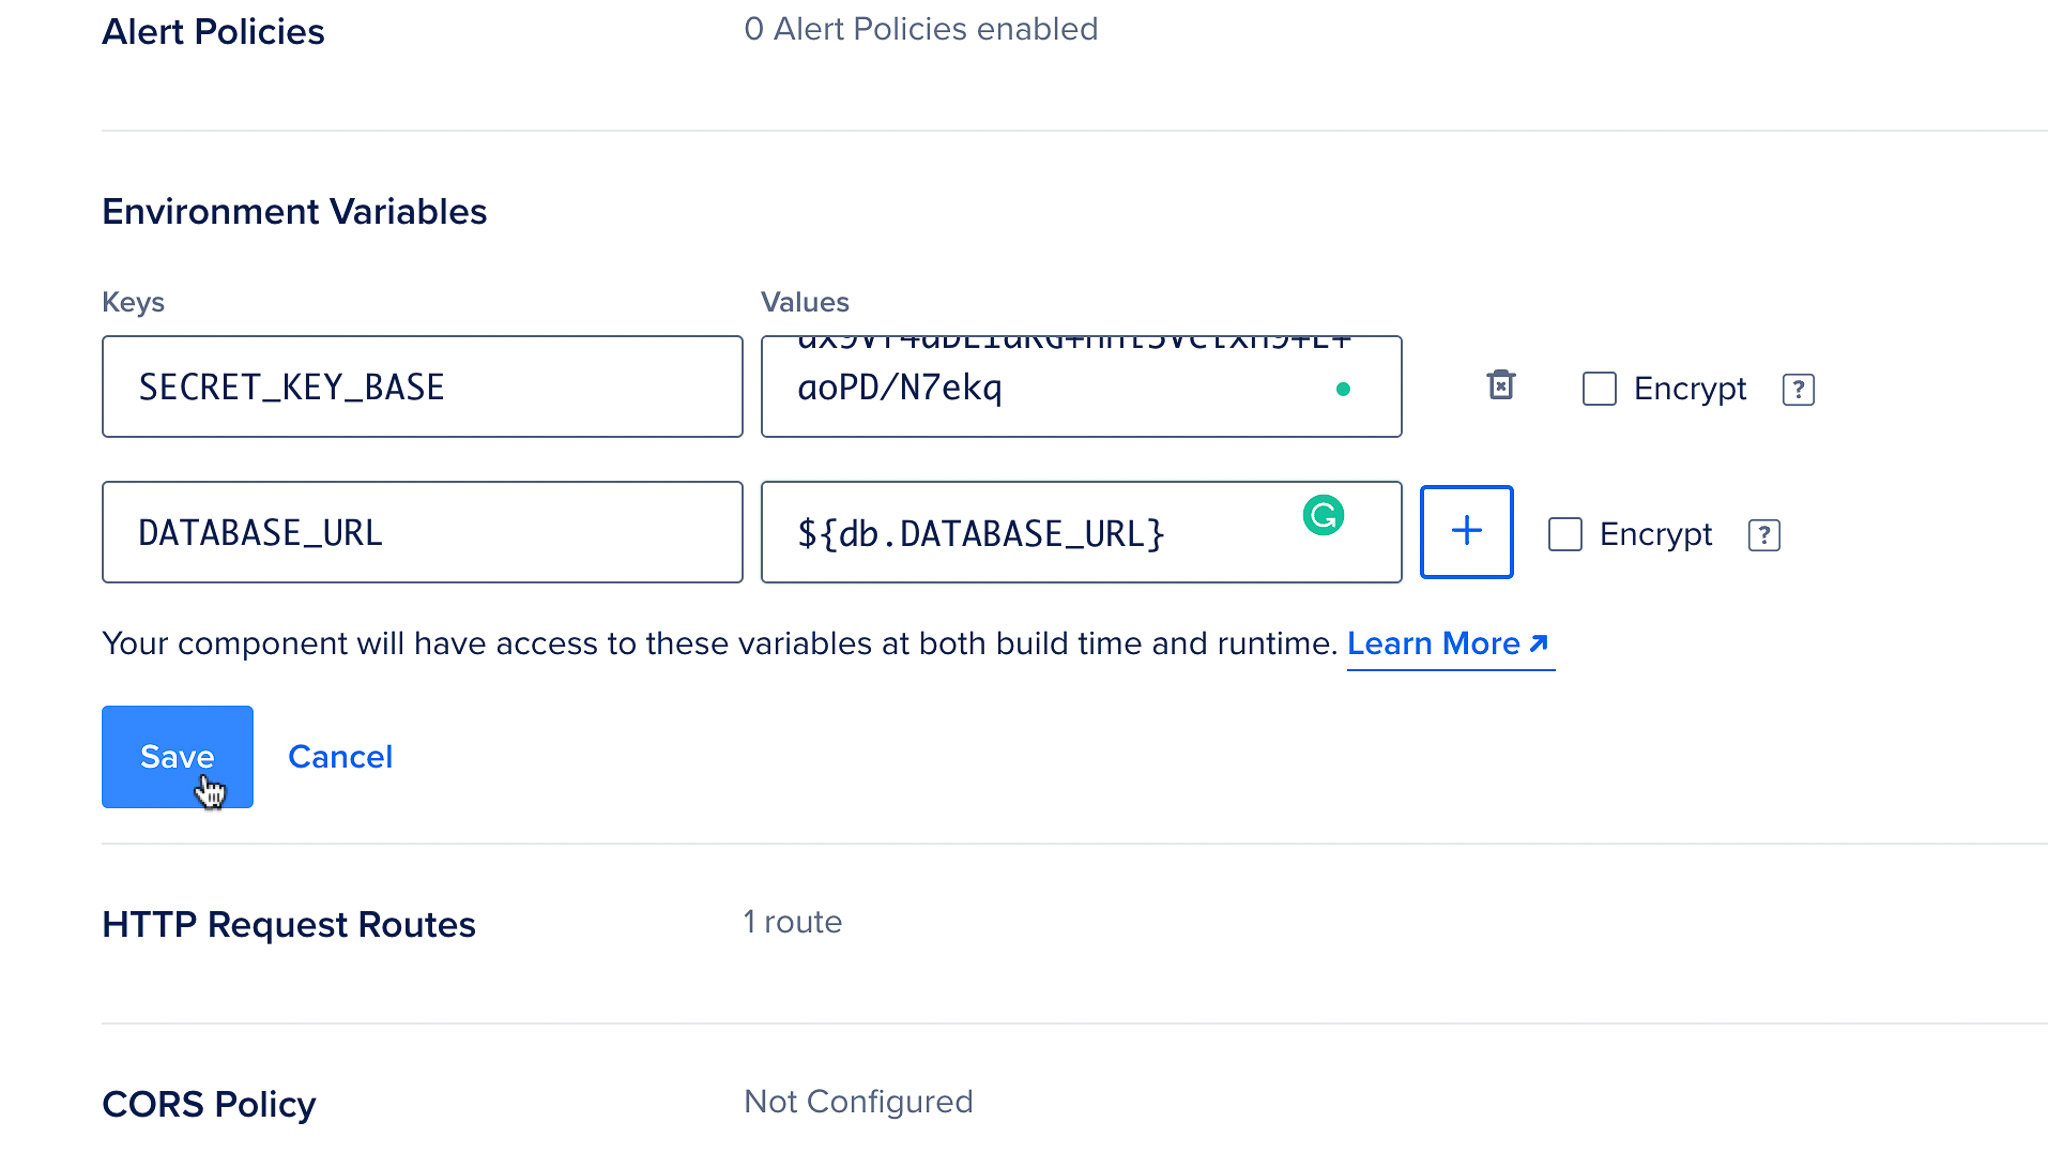
Scroll down to the Environment Variables section and click
Edit

For a LiveView app to function properly we need three environment secrets that we need to provide.
-
SECRET_KEY_BASE: Used by Phoenix to sign your assets. Generate the value by runningmix phx.gen.secretin the root of your project. -
DATABASE_URL: Used by Phoenix to communicate with the database. Since we are provisioning a database with the app from Digital Ocean itself, we can connect it through Digital Ocean. In the values field add${db.DATABASE_URL}replacingdbwith the name of your database.
Click Save and wait for the app to finish building.
Once the App has finished buildling, it will be deployed with a Digitial
Ocean subdomain. You have to add that domain or your custom domain to
the PHX_HOST variable.
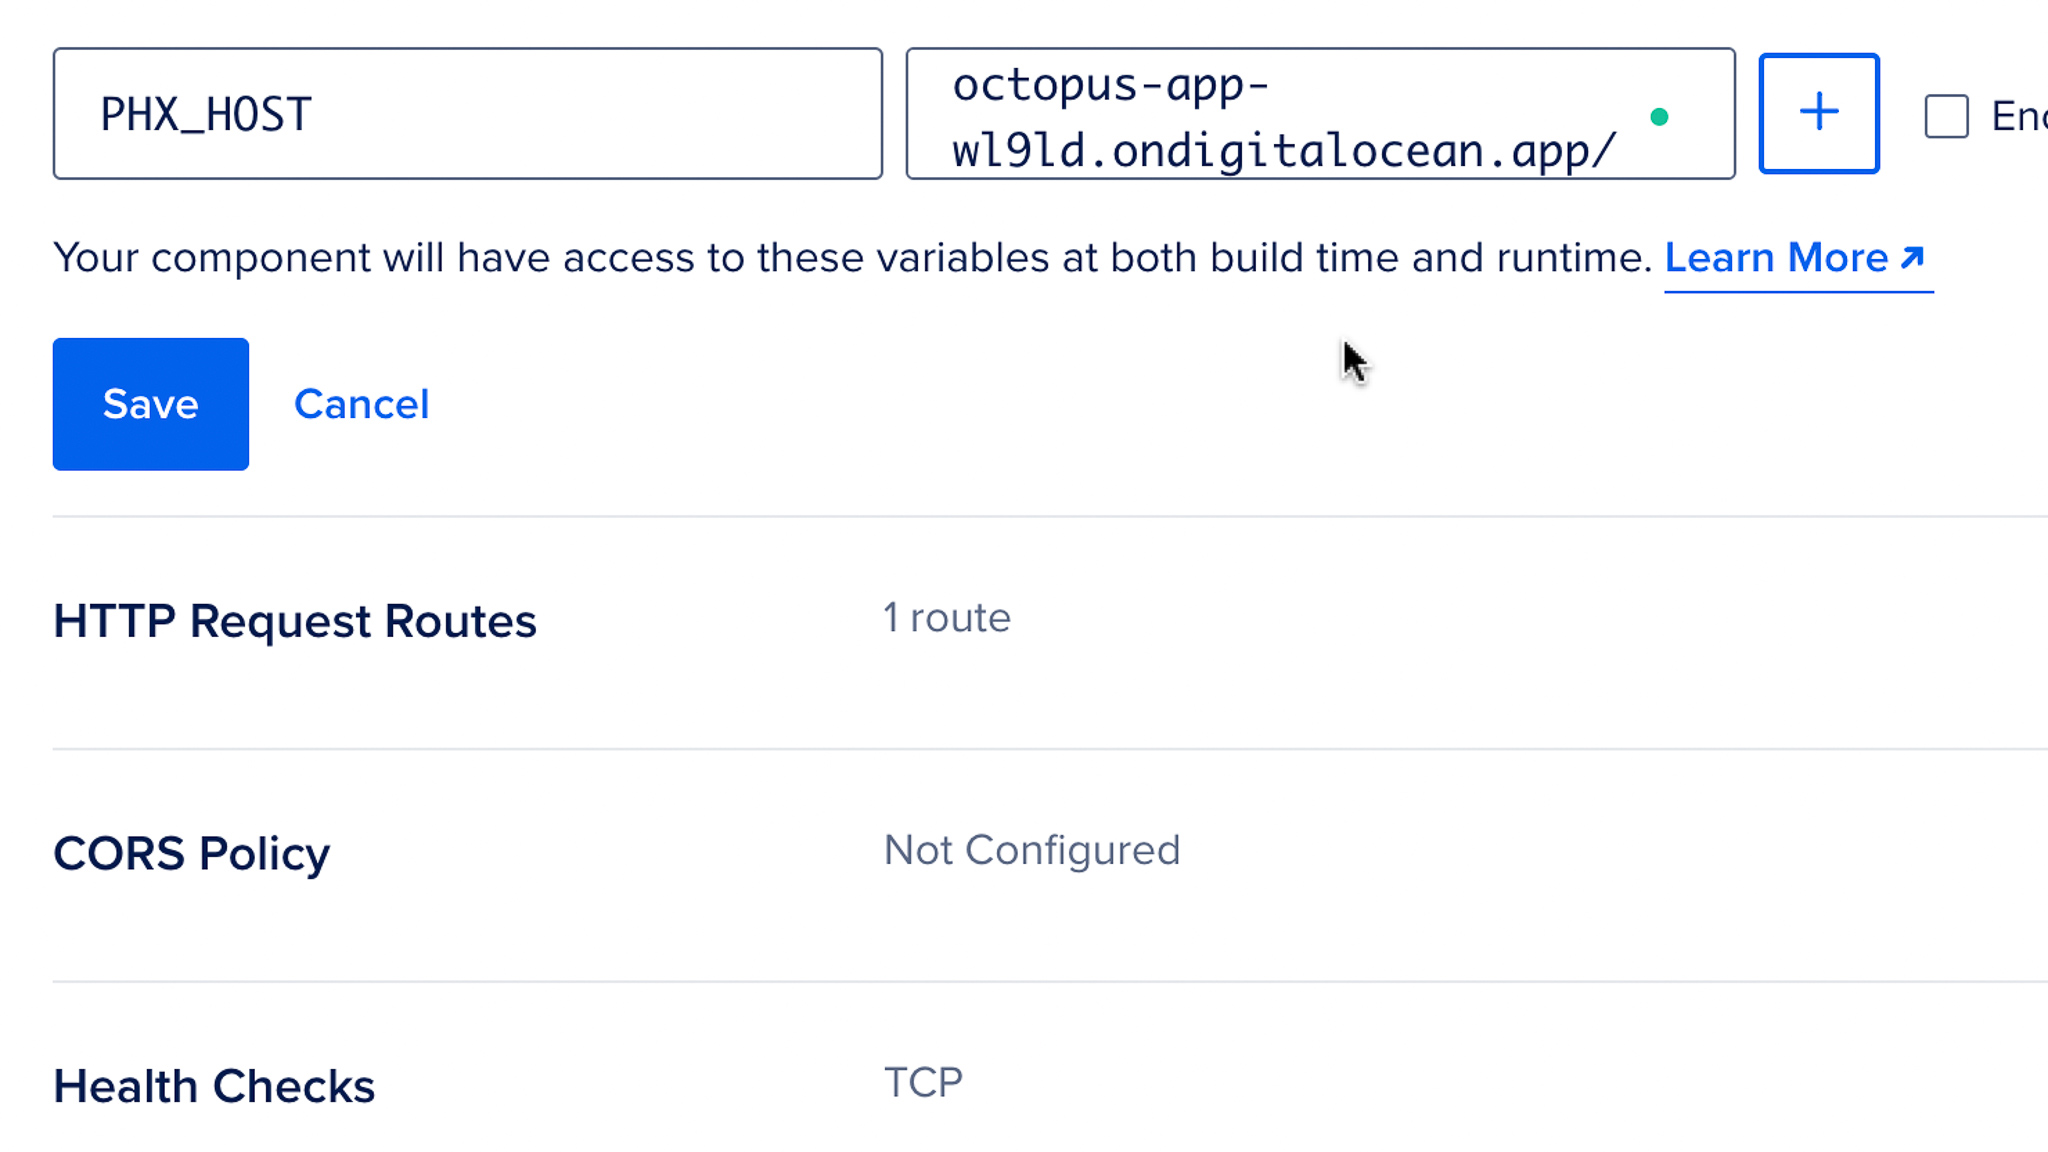
Without adding this, your LiveView Websocket will not be connected. Adding a new variable will rebulid the site and redeploy it.
Wrapping Up
With Docker and managed platforms such as Digital Ocean it is really easy to deploy your Phoenix app to the cloud easily.
Production Tips
- Upgrade Database to a Production version: Currently we are running a development database with no backups and standby nodes. Digital Ocean has managed Postgres databases.
-
Setup a Staging Environment: Create an identical app, but deploy it
from the
developbranch to have a staging environment. Keepmasteras the branch that holds the production code.
Happy Deploying.